This journal details how i've come to grow oyster mushrooms. There are many, many ways to grow them, this is just the easiest ways i've arrived at with an eye toward making the whole process easier. There is some equipment you will need if you want to grow them yourself, you can buy ready to fruit kits online for reasonable prices but once you learn a few simple things you can make them for pennies on the dollar.
Mushroom growing is generally thought of as complicated, and the science behind it can be, but growing them is not. My opinion is that it is nothing more than following recipes and doing simple actions. Ok i'll start running on soon so here goes
These are petri dishes of nutrient agar inoculated with H.K. Hungarian mycelium, and a strain called Phoenix Wavy. The first step is to inoculate agar in some container. This allows you to spot any contamination before you inoculate a big project with it:
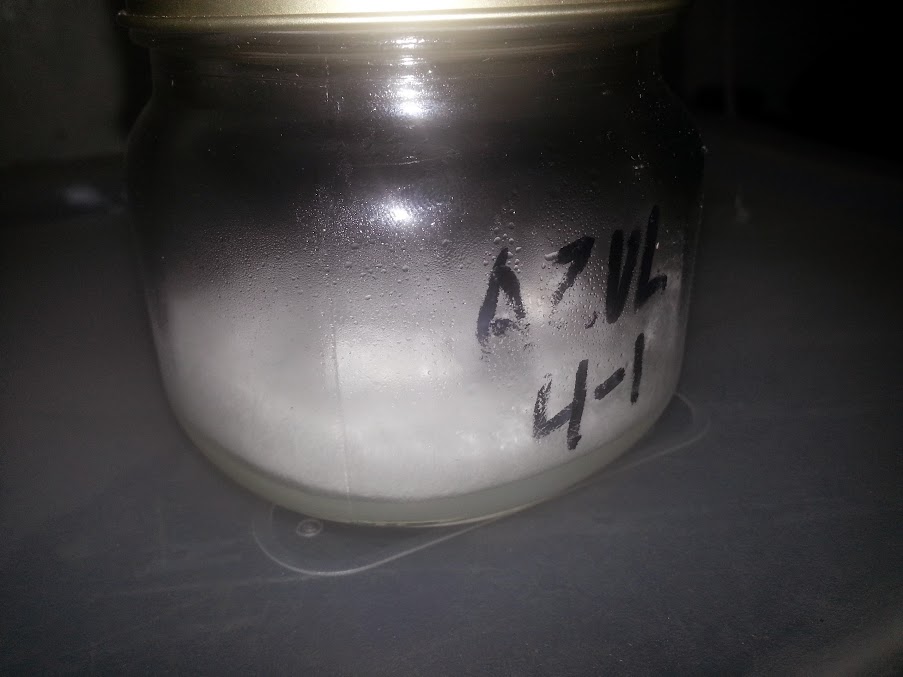
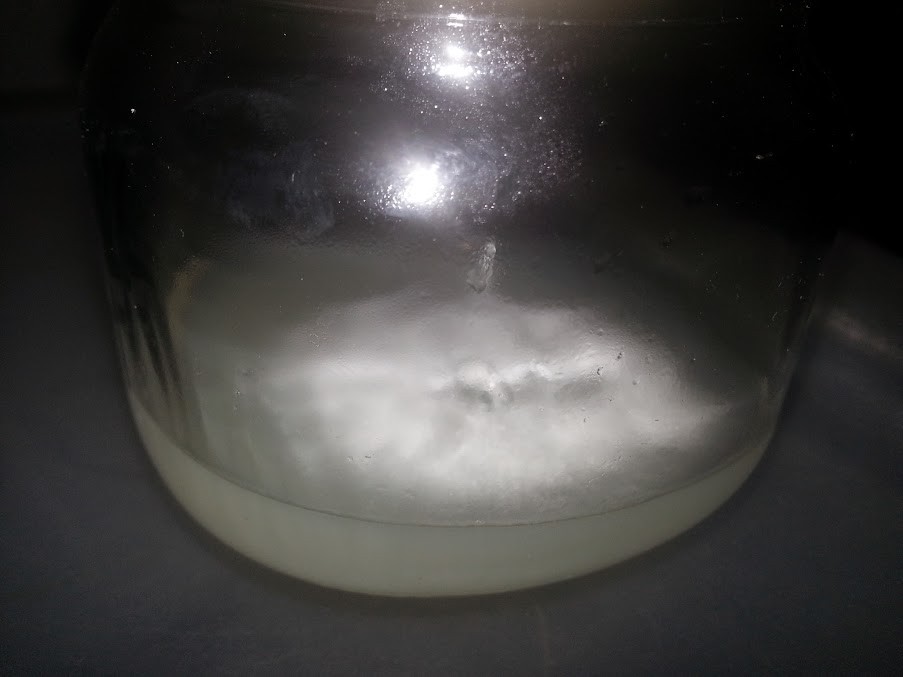
 This will be the starter culture for the way i do my agar, which is in little mason jars instead of petri dishes. This is a picture of Azul Oyster already finished with one agar jar
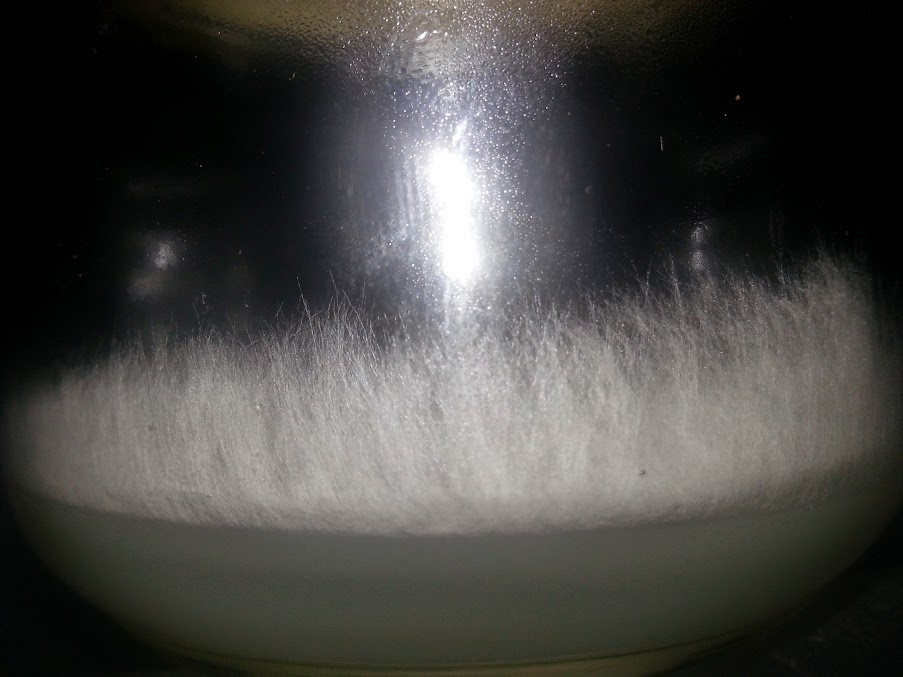
And one that isn't as far along but still nice and healthy
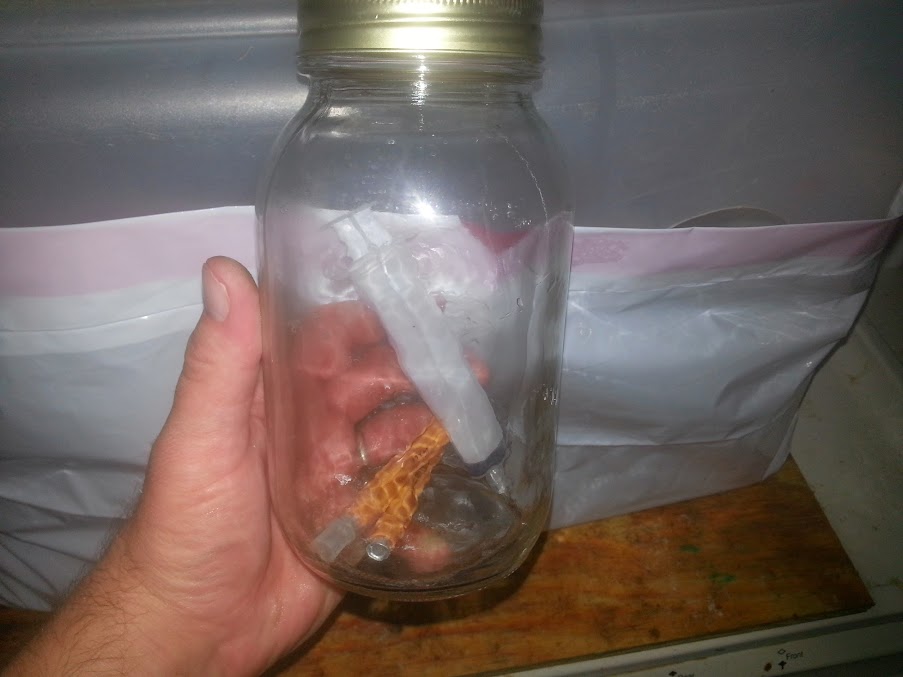
 This is the top of the jar.

The blue dot is called a self healing injection port, they are made for vacuum tubes like they draw blood in, but since we are dealing with needles they are perfect for this use. The other port is a syringe filter for providing the culture with sterile gas exchange, the filter keeps out any spores or bacteria.
The red stuff is RTV high temp silicone, you can find it at wal mart in the automotive section or autozone, etc. for about six bucks, one tube will make a lot of these. I won't go into how to make them here, but basically just drill or punch a hole to accomodate each snugly and apply the silicone before inserting the port. You can let them sit and cure or pressure cook them immediately, the silicone will cure while in the cooker.
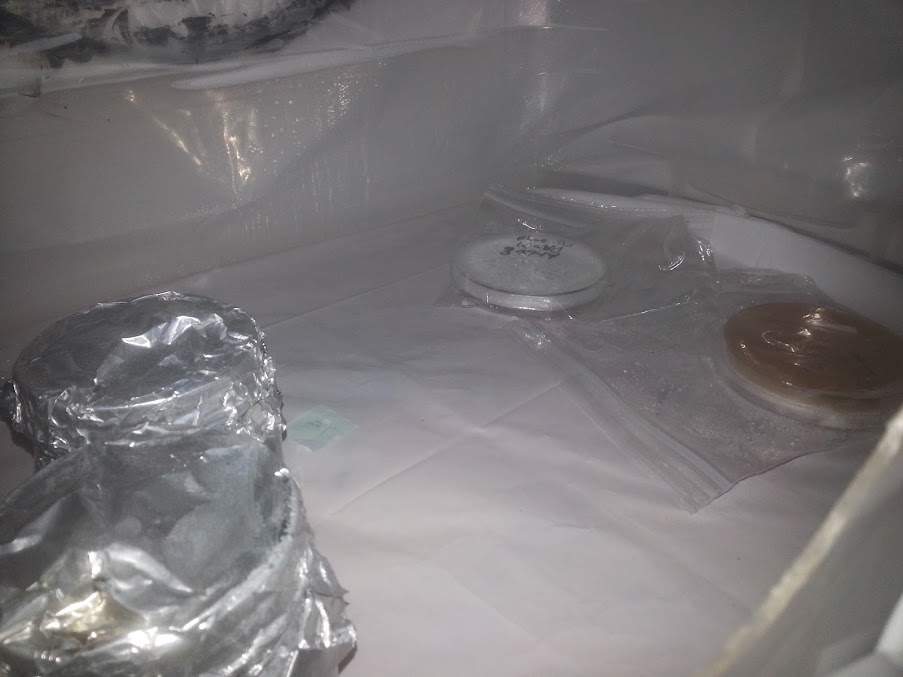
Mix your nutrient agar according to directions and pour a little in each jar. Put the lid on, cover with heavy duty tin foil, and pressure cook them at 15 p.s.i. for 15-30 mins. Let the jars cool completely inside the p.c., i leave mine alone at least overnight, it will help keep condensation from becoming a headache.
 ^^^You'll need whats called a still air box, which is a fancy way of saying "clear plastic tote with arm holes cut in it".
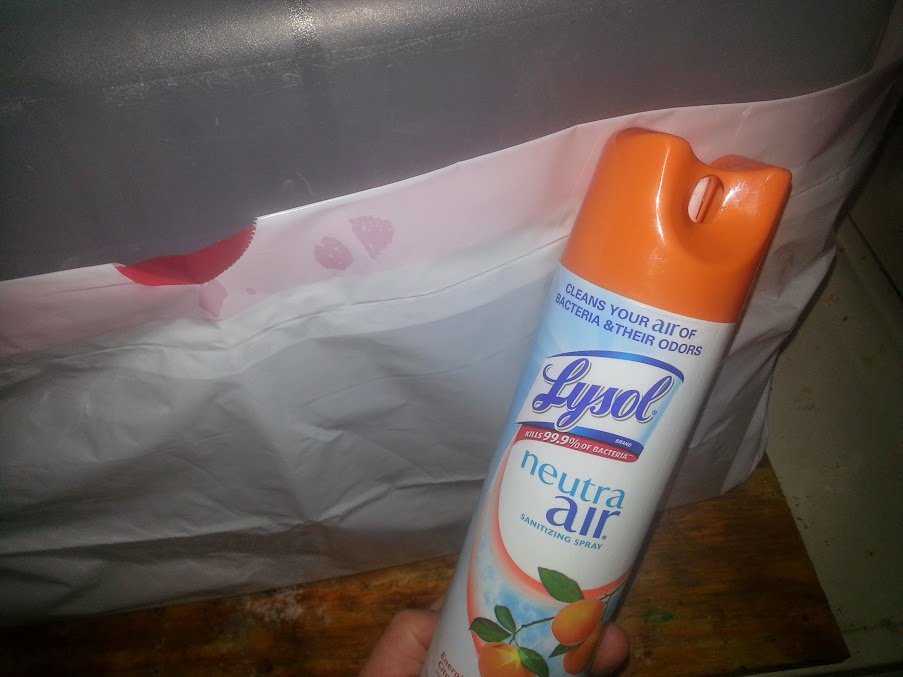
I clean this one with 91% alcohol, 70% works just as well but i also use the 91% for extracting rosemary for fleas so i have it here already. I say i clean it but i really just saturate it with the alcohol and spray in Lysol Neutra Air. Ozium works well too but costs more. They kill a lot of whatever is in the air of your Still Air Box(SAB).
This is where you will transfer the mycelium from the plate to the jar using a 10-20 cc syringe with a 14 ga. 2" needle, i get mine at the vet, two dollars per set. You can also use an exacto knife or scalpel sterilized in the pressure cooker, but you have to open your agar jar to do it that way so i like using the 14 ga. needle and syringe. You can sterilize them over and over after the first use, i use a qt. mason jar for that
 Important: Before working in your SAB turn off all fans in the room for a good half hour so there is no air movement. This will limit the possibility of contamination.
Everything that goes in my SAB gets doused with alcohol, including my hands and arms repeatedly, and shots of Neutra Air go into the box every time a hand comes out, and then i alcohol my hands and arms again before going back in. You want to have all your work pieces in the box before you begin, and it helps to loosen any lids you will be taking off before you get started.
The faster you can work the less chance you will get contamination. With my method i reduce the vectors for contams by using a sterile needle and inoculating through the ports as opposed to opening the lid of a petri dish and dropping a wedge of culture on it.
Now your hands and arms are clean and in the box, take your sterile syringe out of it's package and put the needle on. The tin foil lid should still be on your agar jar. Don't remove it at any time before it enters the SAB to be inoculated, this will keep the surface of your injection port clean. Push the needle into the blue injection port and draw up about 2 cc's of sterile air from inside the agar jar.
Take the syringe in your dominant hand and the petri dish in the other. Quickly raise the lid and push the needle down through the mycelium and into the agar below. Imagine taking a core sample from a tree, you want the same thing, a plug of agar with a piece of mycelium on it in the barrel of the needle. Now that you have your mycelium plug quickly insert the needle through the blue port again and push the plunger to apply the core to the surface of the agar in the jar. Label the jar and put it somewhere preferably cool and dark, a closet or a cabinet.
That is it for this stage of the journal, as it progresses i'll add the various next steps. Feel free to add questions or comments as it goes and thanks for taking a look! Here are the rest of the pics:
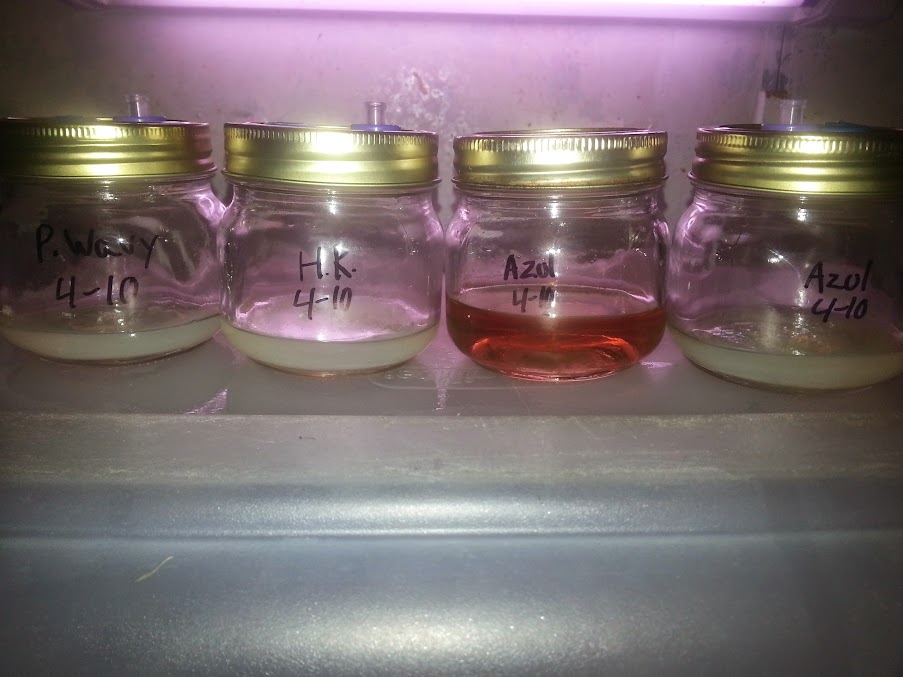
Newly inoculated jars
 Azul Oyster trying to escape!